

Sho-Me Dodge/Jeep Stop/Turn/Tail Flasher
Sho-Me Dodge/Jeep Stop/Turn/Tail Flasher is backordered and will ship as soon as it is back in stock.
Usually ships in one business day
What's In The Box
What's In The Box
Tech Specs
Tech Specs
Return & Warranty
Return & Warranty
FAQs
FAQs
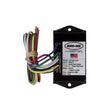
Sho-Me Dodge/Jeep Stop/Turn/Tail Flasher
Description
Description
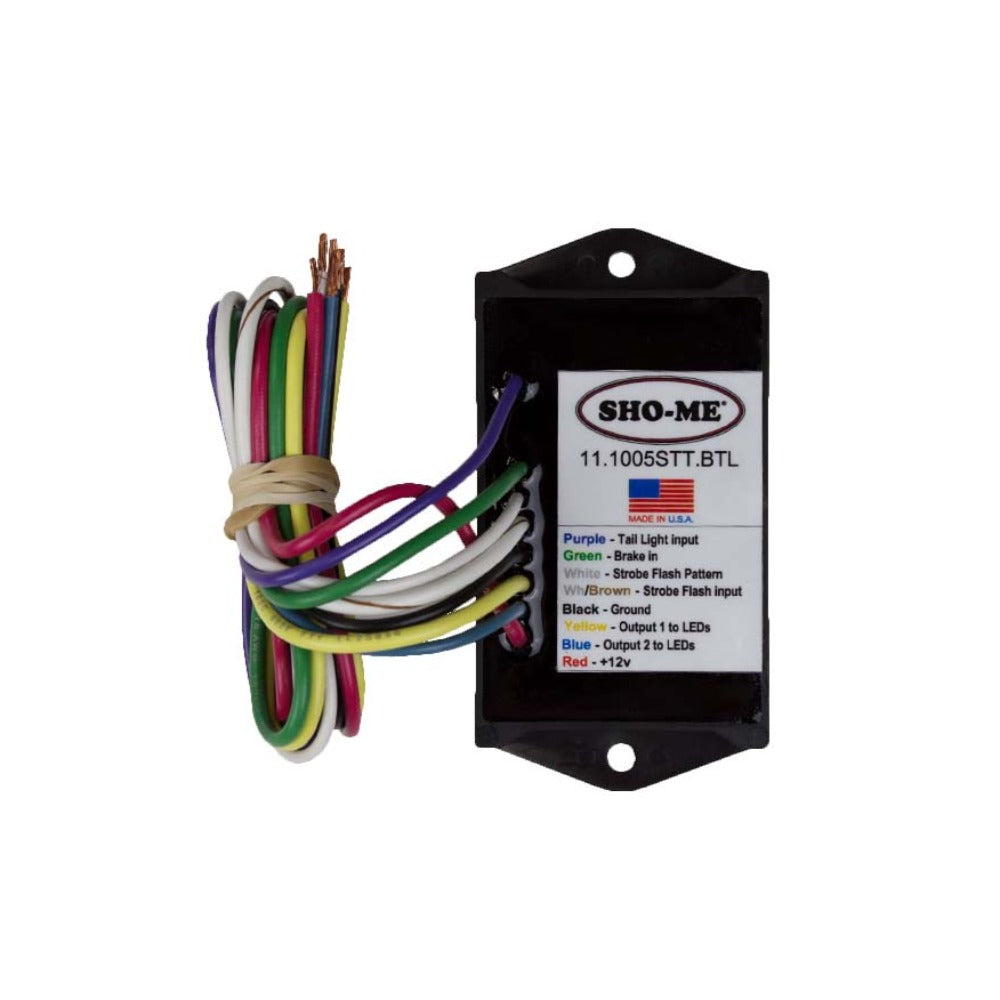
The Sho-Me Dodge/Jeep Stop/Turn/Tail Flasher has been specifically engineered and manufactured by SHO-ME to engage the factory installed LEDs lights on the center trunk section of select Jeep and Dodge vehicles. Your vehicle will need the LED rope lights around the rear of the trunk. This Stop/Turn/Tail style flasher is installed in-line with the vehicle's existing lighting and brake system to allow the factory trunk lighting system to flash upper-lower while your emergency lights are engaged as well as cease flashing and act as a full brake light when the brake pedal is depressed. The flasher can be installed in about 60 minutes or less and should be installed only by those familiar with vehicle wiring and 12V systems.
10 Flash Patterns
| 1. | Dim Tail Light |
| 2. | Brighten Tail Light |
| 3. | Selected Turn Signal |
| 4. | Quad Alternating |
| 5. | MEGA Alternating |
| 6. | Double Alternating |
| 7. | Quint Alternating |
| 8. | Double Simultaneous |
| 9. | Quad Simultaneous |
| 10. | Random |
While really not too difficult to install, the SHO-ME flasher should be installed only by those familiar and comfortable with 12V DC automotive wiring systems. The installation of this flasher will require being able to identify and locate specific wires in the vehicle's running light and braking wiring harness. Improper installation of the Dodge Charger flasher could result in these vital systems not operating properly or at all. We have intentionally left out specific vehicle wire colors as they are subject to change from model year to model year.
